Dick
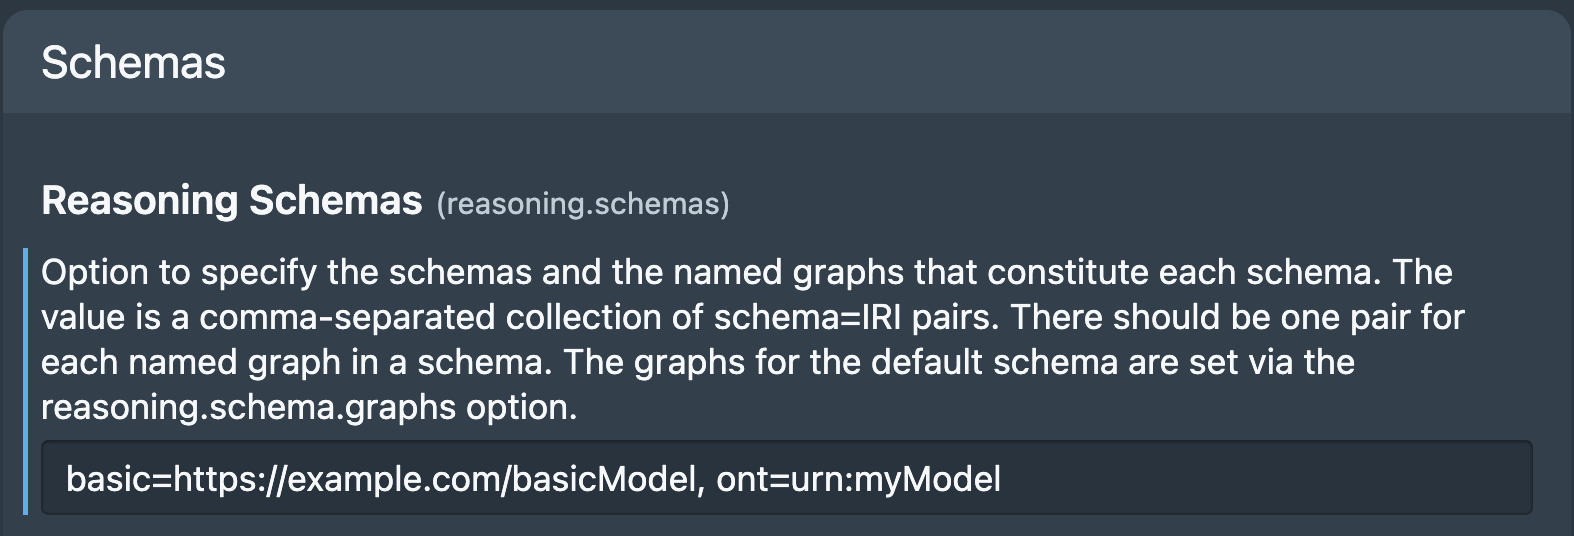
To explore a model in Explorer we need to let Stardog know that the named graph the model was loaded to, actually contains a model. We do this by modifying the database property reasoning.schemas
Here's how to modify the reasoning.schemas database property
- Choose a name for your model Eg ‘ont’. This is the name that Studio, Designer and Explorer will use when you select a model in the drop-down list.
- In Studio, select Database pod on Left hand pane 2nd from bottom.
- Select your database
- Select Properties
- In search bar enter ‘schemas’ and locate the reasoning.schemas property
- Set the reasoning.schemas property to ont=urn:myModel where ont is the name you chose and urn:myModel is the named graph that contains the model. The property is a collection of comma separated model=named_graph_IRI pairs. If there are already models specified, append the new model to the string, as shown.
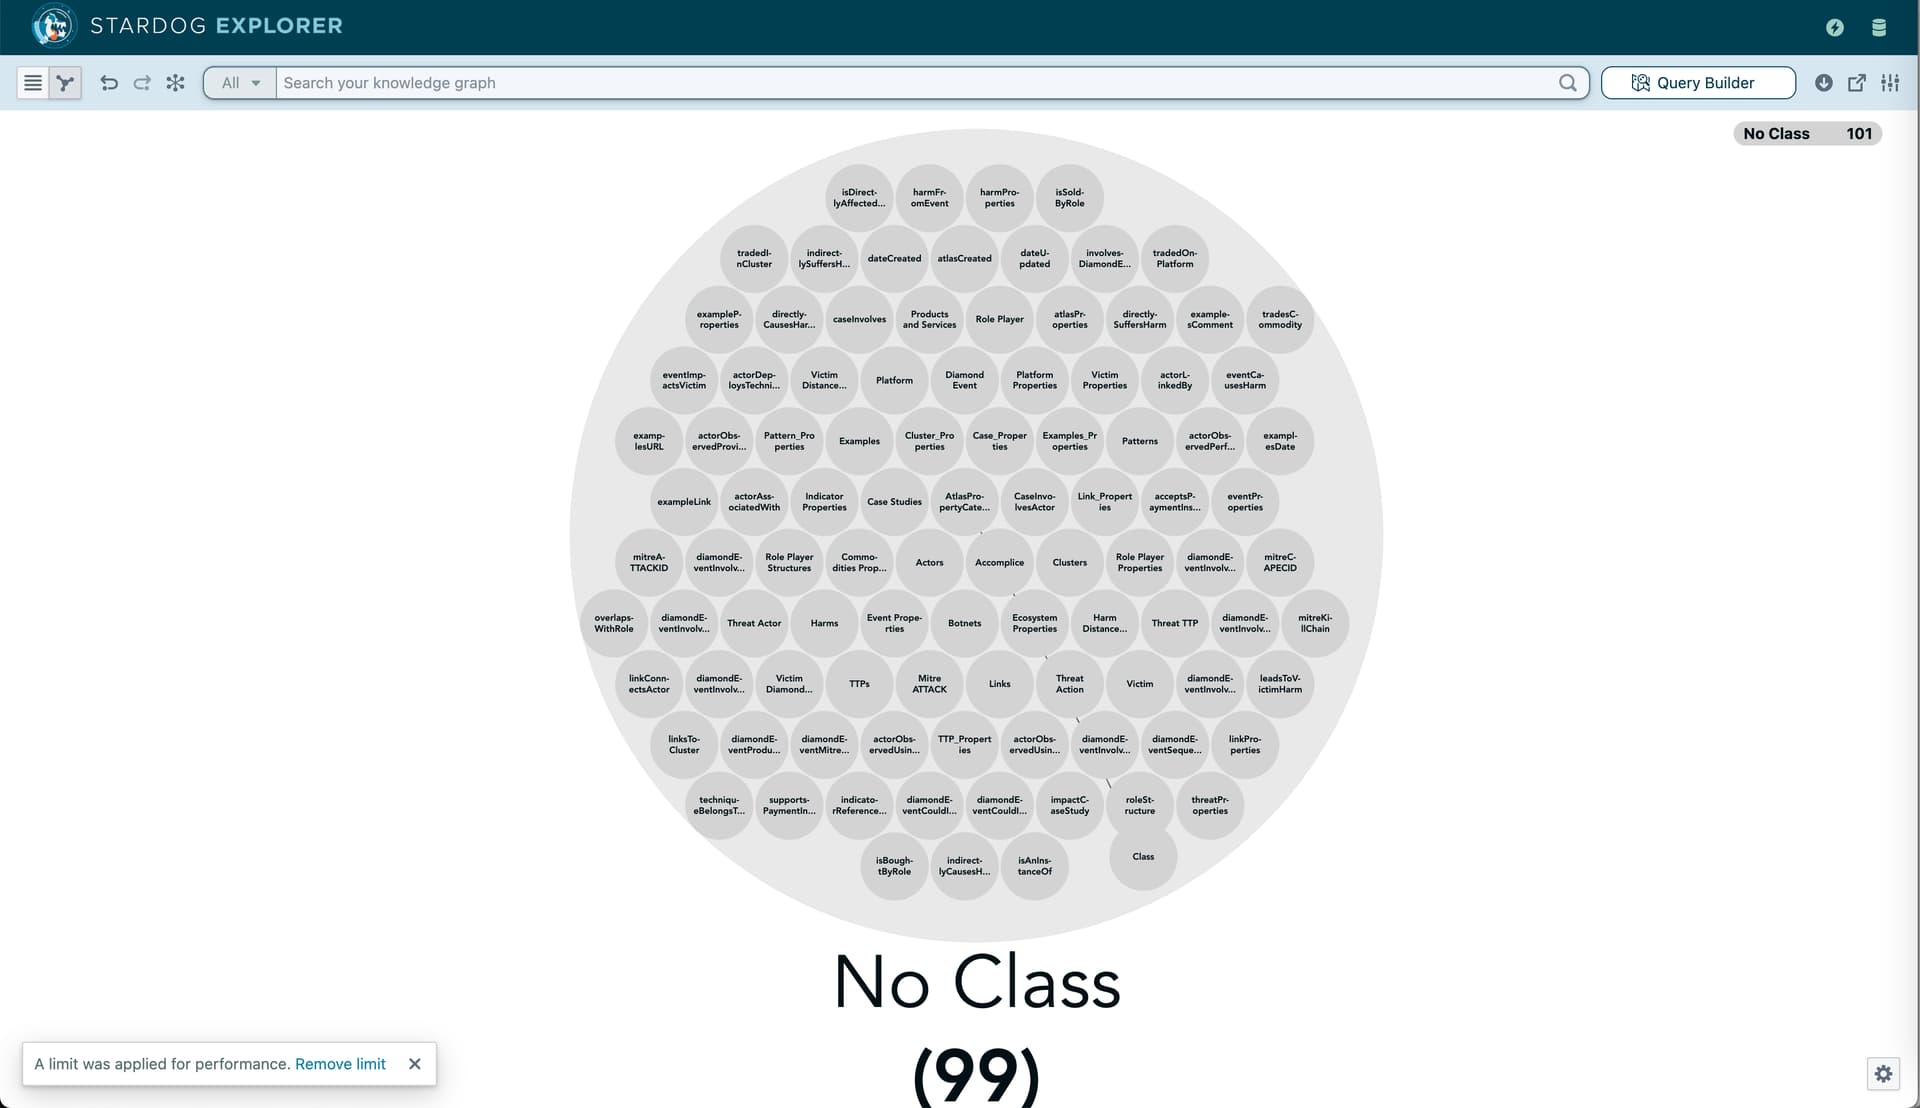
To View the model in Explorer
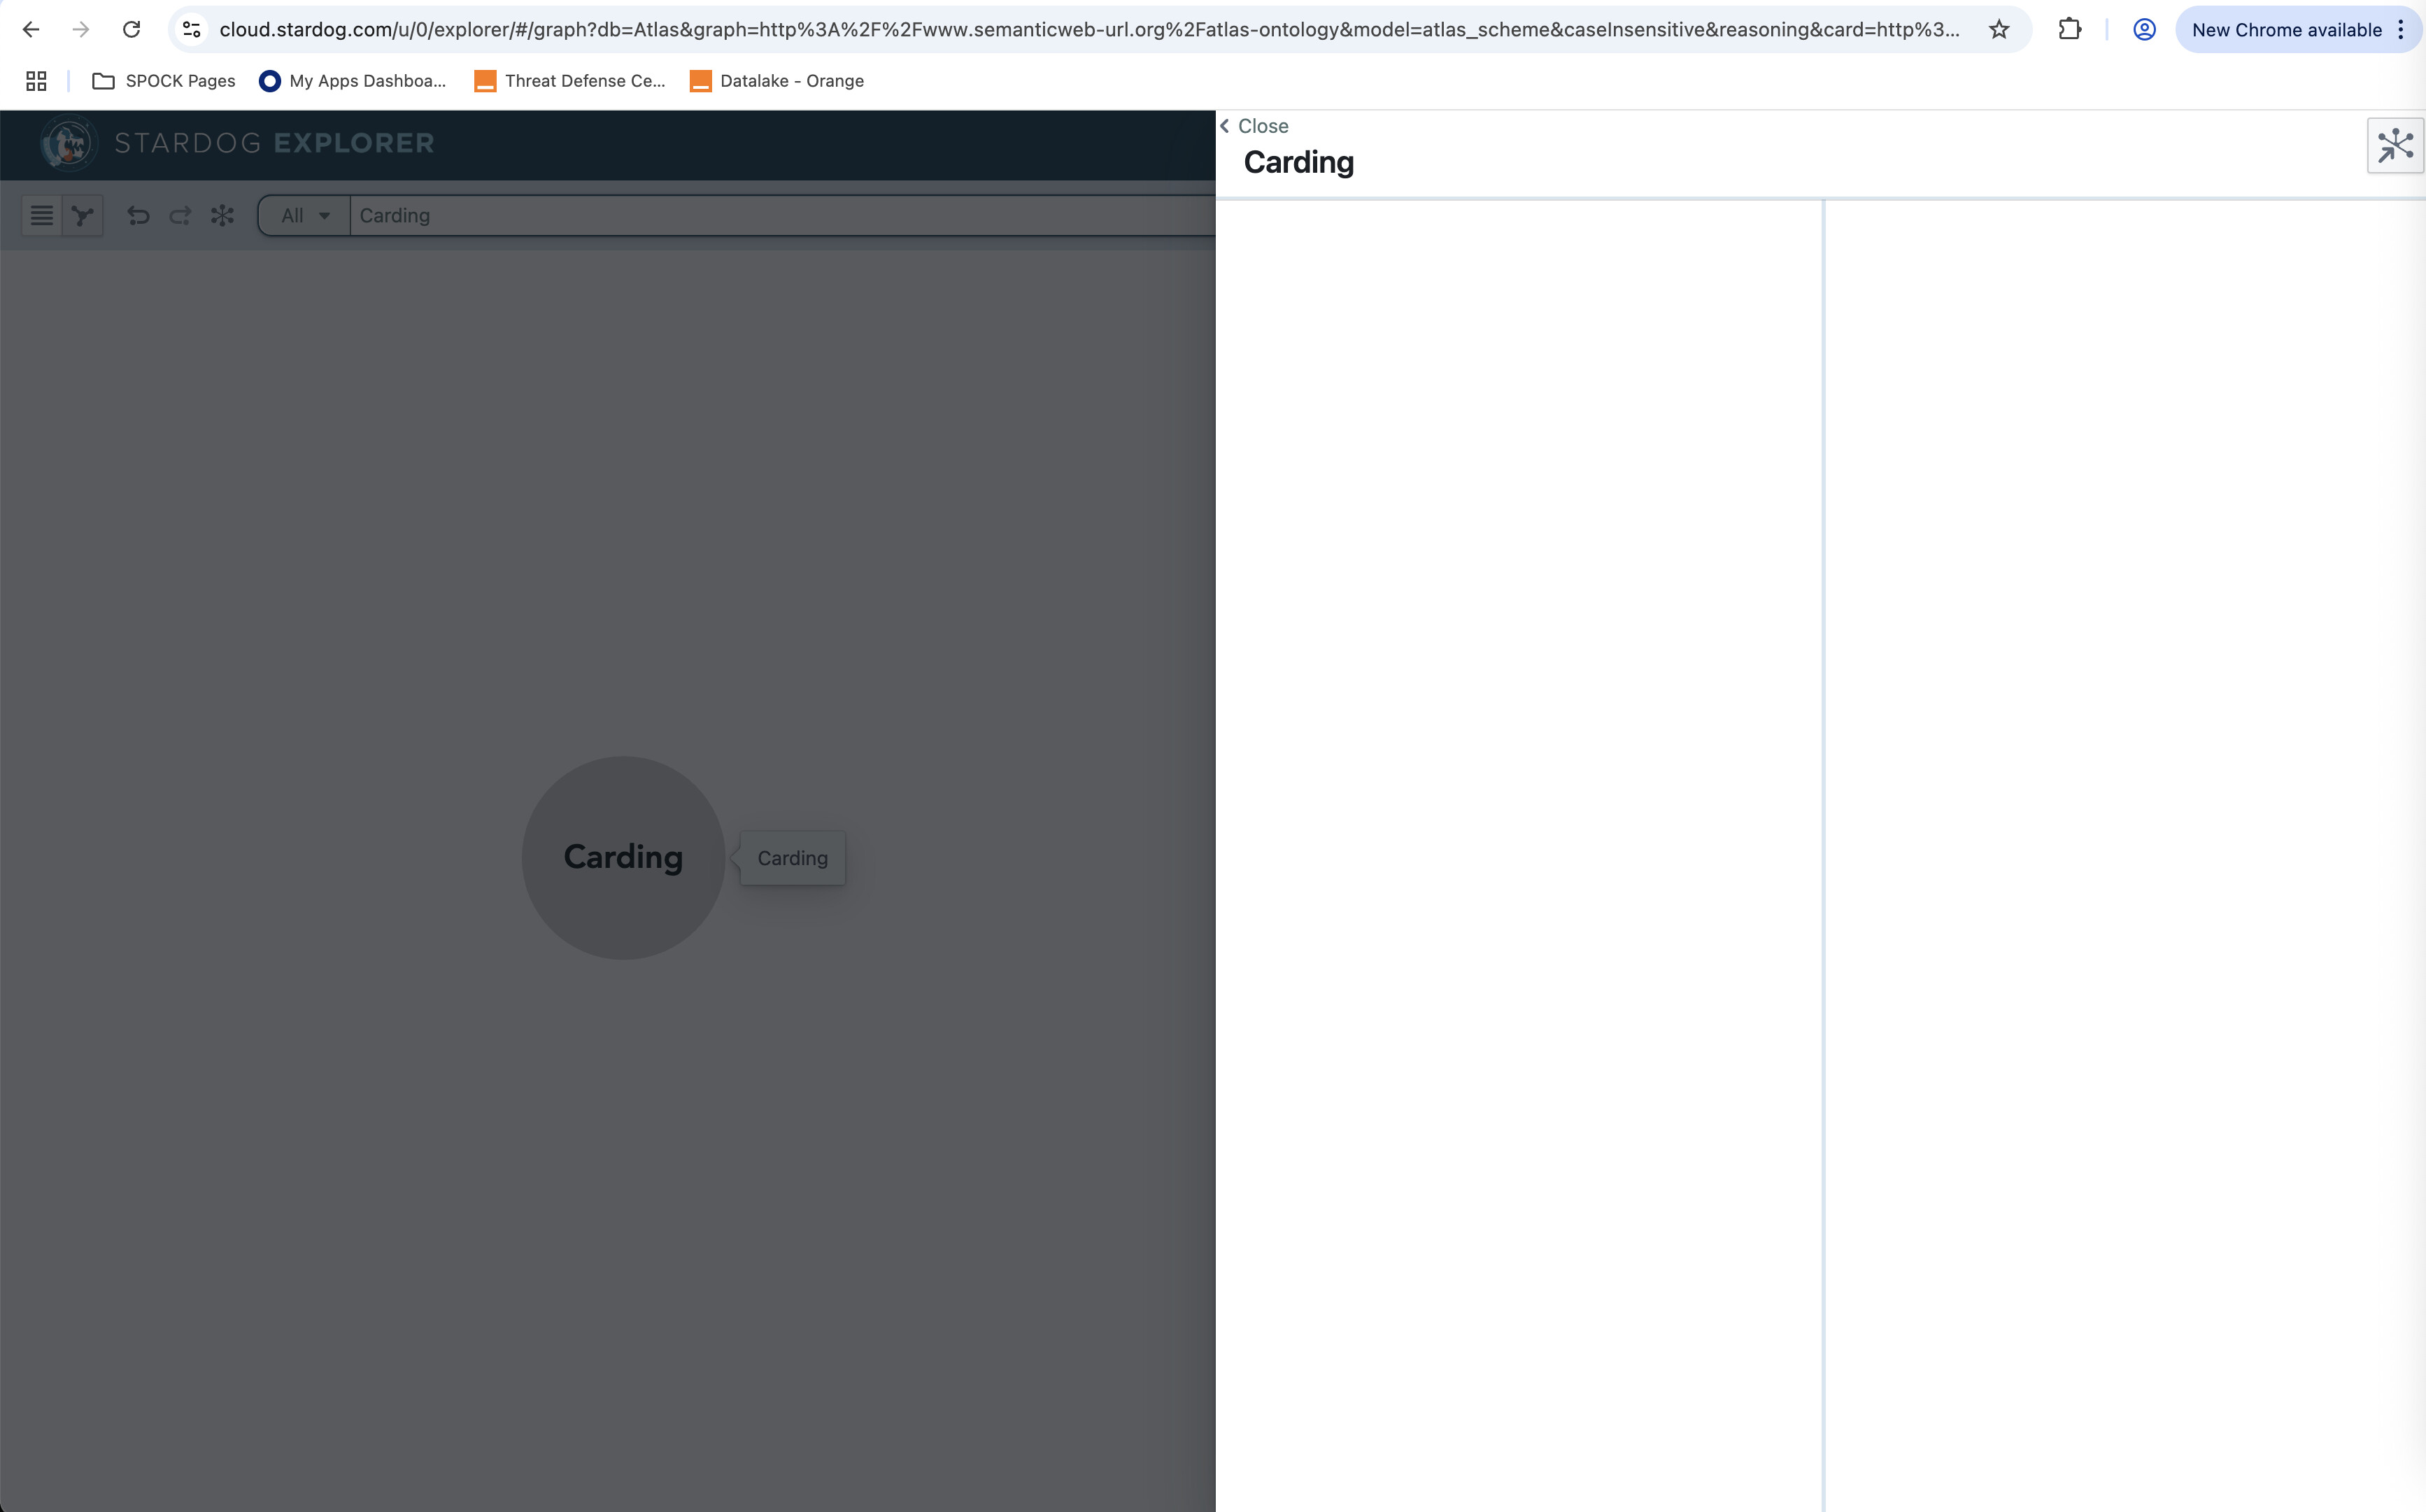
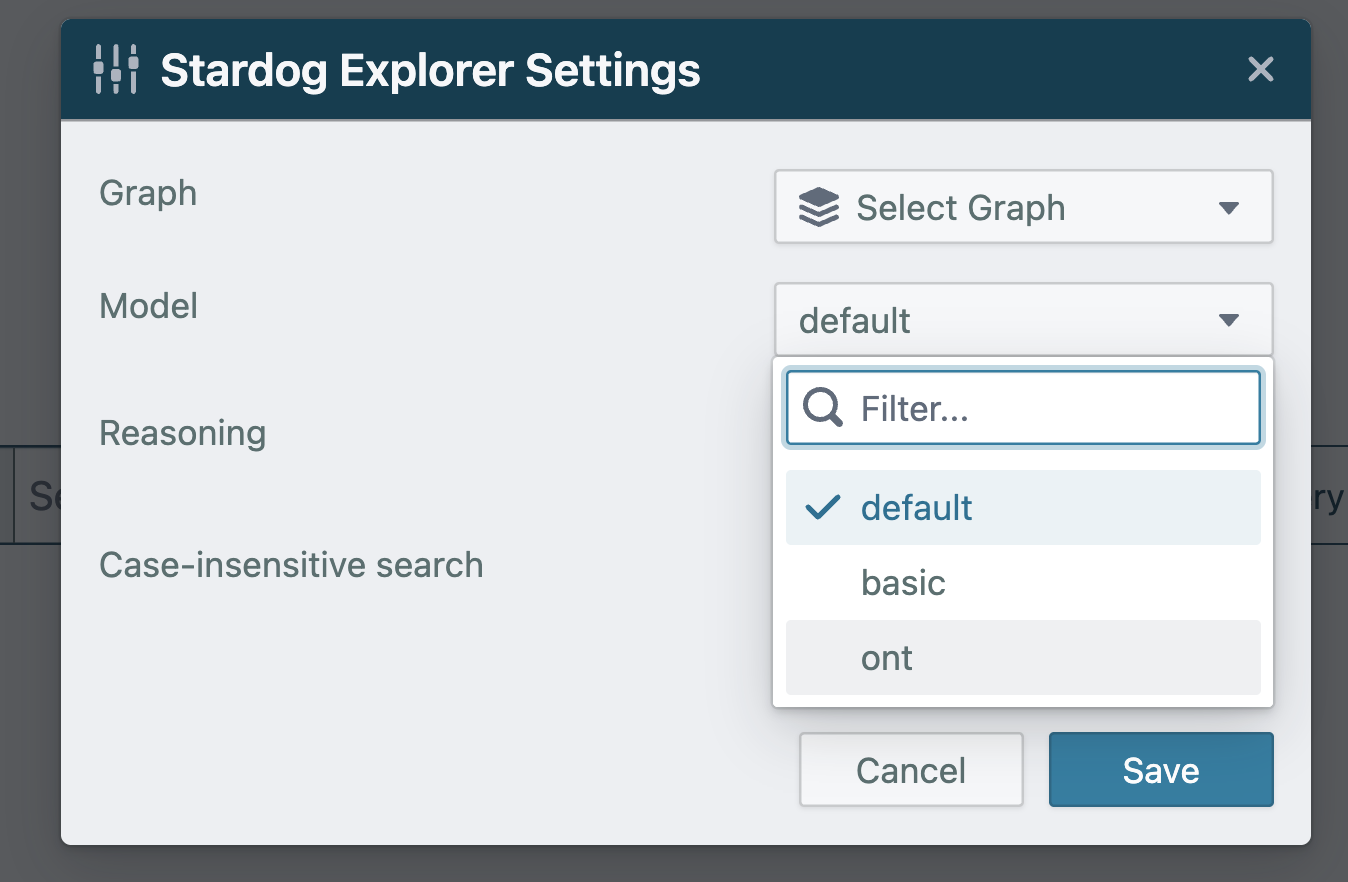
- In Explorer select the database
- In settings, in the model dropdown choose the model, eg ont. This is the name you gave the model above.
Guidelines for creating a model that is optimised for Explorer
Most ontologies you create in 3rd party apps like Protege, work seamlessly with Stardog Designer and Explorer. However it’s benficial to follow a few key modelling practices.
First, avoid using owl:Restriction constructs to define properties. Instead, define your properties explicitly using OWL's built-in property types, with specified domains and ranges.
For data properties, use owl:DatatypeProperty. Each data property should have its domain set to the class it belongs to (the source class), and its range set to the appropriate datatype such as xsd:string, xsd:float, xsd:boolean.
Similarly, for object properties, use owl:ObjectProperty. The domain should be the source class (where the relationship originates), and the range should be the target class (where the relationship points to).
When properties are defined as above, Explorer can visualise the Model correctly. Explorer Query Builder will list only the relevant ObjectProperties and DatatypeProperties for the selected class. This significantly speeds up query building in a busy model and minimises errors.
Tip: To correctly browse and query instance data.
It's preferable not to have any instance data (ABox) in your model (TBox). They should be kept separate. However, if you do have a model that contains ABox data it is easy to write a SPARQL UPDATE query to extract those triples and move them to a separate named graph.
If your modelling tool is not named graph aware (eg Protege), you can create a separate ‘model’ for your TBox (model) and ABox (instance data). Then when you load them into Stardog, load them to separate named graphs. This will eliminate the need to move your instance data to a separate named graph.
Tip: Converting a model to one optimised for Explorer
If you import a model into Designer, only triples in the model that can be maintained with Designer or used by Explorer will be imported. For example, instance data triples or properties using owl:Restriction will not be imported. Therefore, if you then publish the model using Designer to a new named graph, you will have a model that is optimised for Designer and Explorer use. This does not remove the original model.
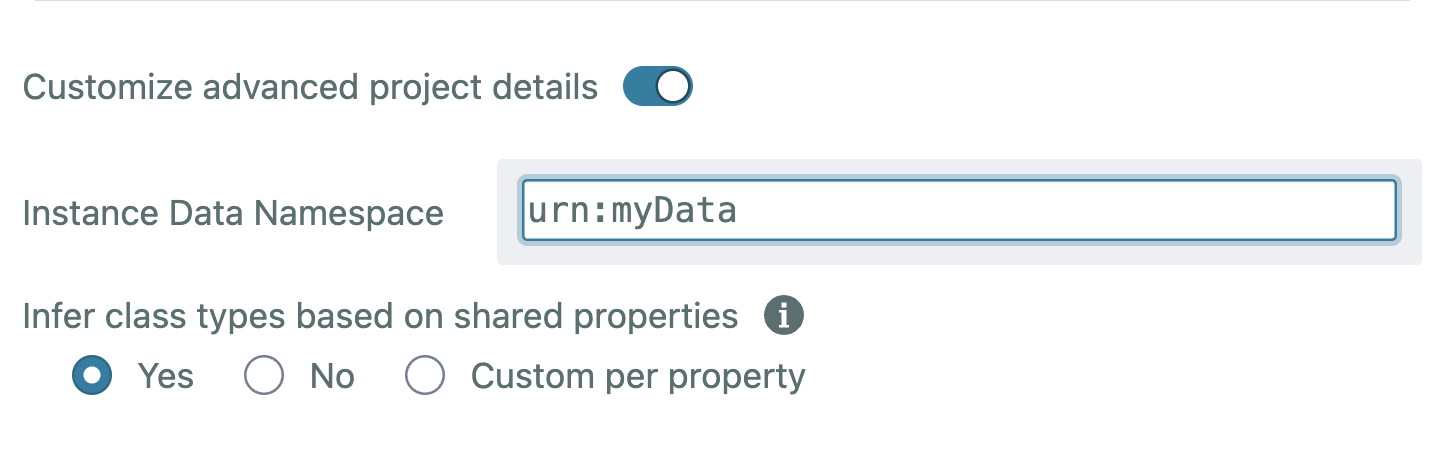
In addition, by default, rdfs:domain and rdfs:range will be rewritten as so:domainIncludes and so:rangeIncludes (schema.org). This is usually preferable and these changes will go unnoticed. However you can change this behaviour in Designer -> Settings -> Customize advanced project details and set Infer class types based on shared properties to Yes
Language tags from string literals in the model will be removed.